In this post, you learn how to make chicken momos from scratch and and more than you ever wanted to (but need to) know about dumpling dough.
Hello hello. Like most youngsters my age, I am fairly obsessed with momos, the Indian/Tibetan/Nepali version of dumplings. Every once in a while, I have an urge to devour a hot plate of momos (usually chicken) without any accompanying chutney. There’s so much to love about it – the soft silkiness of the wrapper, the soft and juicy morsel of meat inside, the faux healthy feeling (it is steamed)….makes me truly appreciative of India’s multicultural and fusion cuisine. I do not condone deep fried momos or making a saucy chilli dish out of it. However, I can’t deny that plain steamed momos are just as unhealthy, especially since I read that commercial vendors bleach their maida (all purpose flour) with alloxan, a chemical which has shown to cause diabetes in rats!
Maida is not good for you and so it follows, that momos can’t be good either. Your mother has been telling you that since childhood, which is why the purchases have been rather clandestine. A few years ago, I attempted to make momos with atta (whole wheat flour). Although I managed to get the texture right, M said they tasted funky. They are also very large (palm sized) – because it is truly tedious to make momos the size that are available commercially! I want to try making them with rice flour, but I couldn’t find it in the stores yesterday, when I had the urge to spend 4 hours making momos in my hostel room.
Momo-making is a fairly straightforward process. If you’ve made rotis or Indian sweets before, it can be a very simple and rewarding process. My resources were limited to these soldiers yesterday:
- Induction cooktop
- Non-stick pan with a lid
- Chopping board
- Knife, fork and ladle
- Tissues
- Mixing bowl
- Plastic Bottle (featuring as rolling pin)
I wanted to keep the ingredients to a minimum because I was working on a meagre budget to let each chosen item’s quality shine through! They include:
- Chicken mince (300 g)
- Maida Flour (500g)
- Cornstarch (100g)
- 1 large onion, chopped
- 1 egg
- Soy sauce (2 tbsp)
- Ginger Garlic paste (thank you, readymade Rs. 5 packets)
- Oil (I used canola)
PART I: MAKING THE FILLING
Easiest bit – you just mix in the meat, soy sauce, ginger garlic paste, seasonings and onions. Finely diced carrots and cabbage are also approved additions, but capsicum and coriander can be too overwhelming in my humble eating experience. I also like to saute the veggies till they’re caramelized before adding it to the minced mix, else you’ll be biting into crunchy veggies in your momo. Pre-cooking them allows them to almost blend into the chicken. I mixed 1 egg into the mixture for cohesiveness, but you substitute with oil/ghee/cornstarch slurry or even some milk. Some fat, like chicken fat or ghee adds a nice flavour. The filling should retain its shape if you make a ball of it.
PART II: MAKING THE WRAPPERS
Dumpling dough is DIFFICULT to perfect at home, and even more so if you’re rolling it out with your plastic bottle. But hey, I’m channeling those Italian grandmas and Mark Iacono at the new NYC favourite pizza joint Lucali who roll out their dough using wine bottles. I’m just adjusting it socio-economically. Anyway, here’s what I learnt from dough:
- The worse the dough is for your health, the softer and more suitable it is for momos! Flours with low protein and gluten content yield a thinner, softer texture. Atta may be doable, but anything like millet flour, buckwheat, ragi/nachni, oat, etc. will not pass muster. I do think rice flour could be a good alternative.
- Using hot water instead of cold water yields a softer dough.
- The more starch you use, the softer and silkier is the final wrapper. The nearly transparent dumplings you’ve eaten at Mainland China or upscale Chinese joints are almost entirely made of starch, not flour. In India, cornstarch is commonly available, but tapioca starch is also a popular option. I added half a cup of corn starch yesterday to nearly 4 cups of flour, but you can go 50-50.
You start with the flour, add some salt, and hot water enough to make a smooth ball of dough. The quantity of water depends on the kind and humidity of your flour, but generally a ratio of 1:4 (1 part water to 4 parts of flour) is good. The dough is shaggy at first, but you knead it for a good 10 mins and tell yourself it’s an arm workout. Leave it to rest for 15 mins, before kneading a bit again.
Roll them out into small circles, because momos puff up quite a bit during cooking. The dough dries up very quickly, so make sure to keep kneading before rolling and work speedily! Keeping the mother dough covered with a cloth helps prevent a plasticky dry coat from developing. Make sure that the edges of the wrapper are rolled thin, because they crimp together when sealed and tend to be thick and raw despite steaming/cooking. I made both these mistakes yesterday:
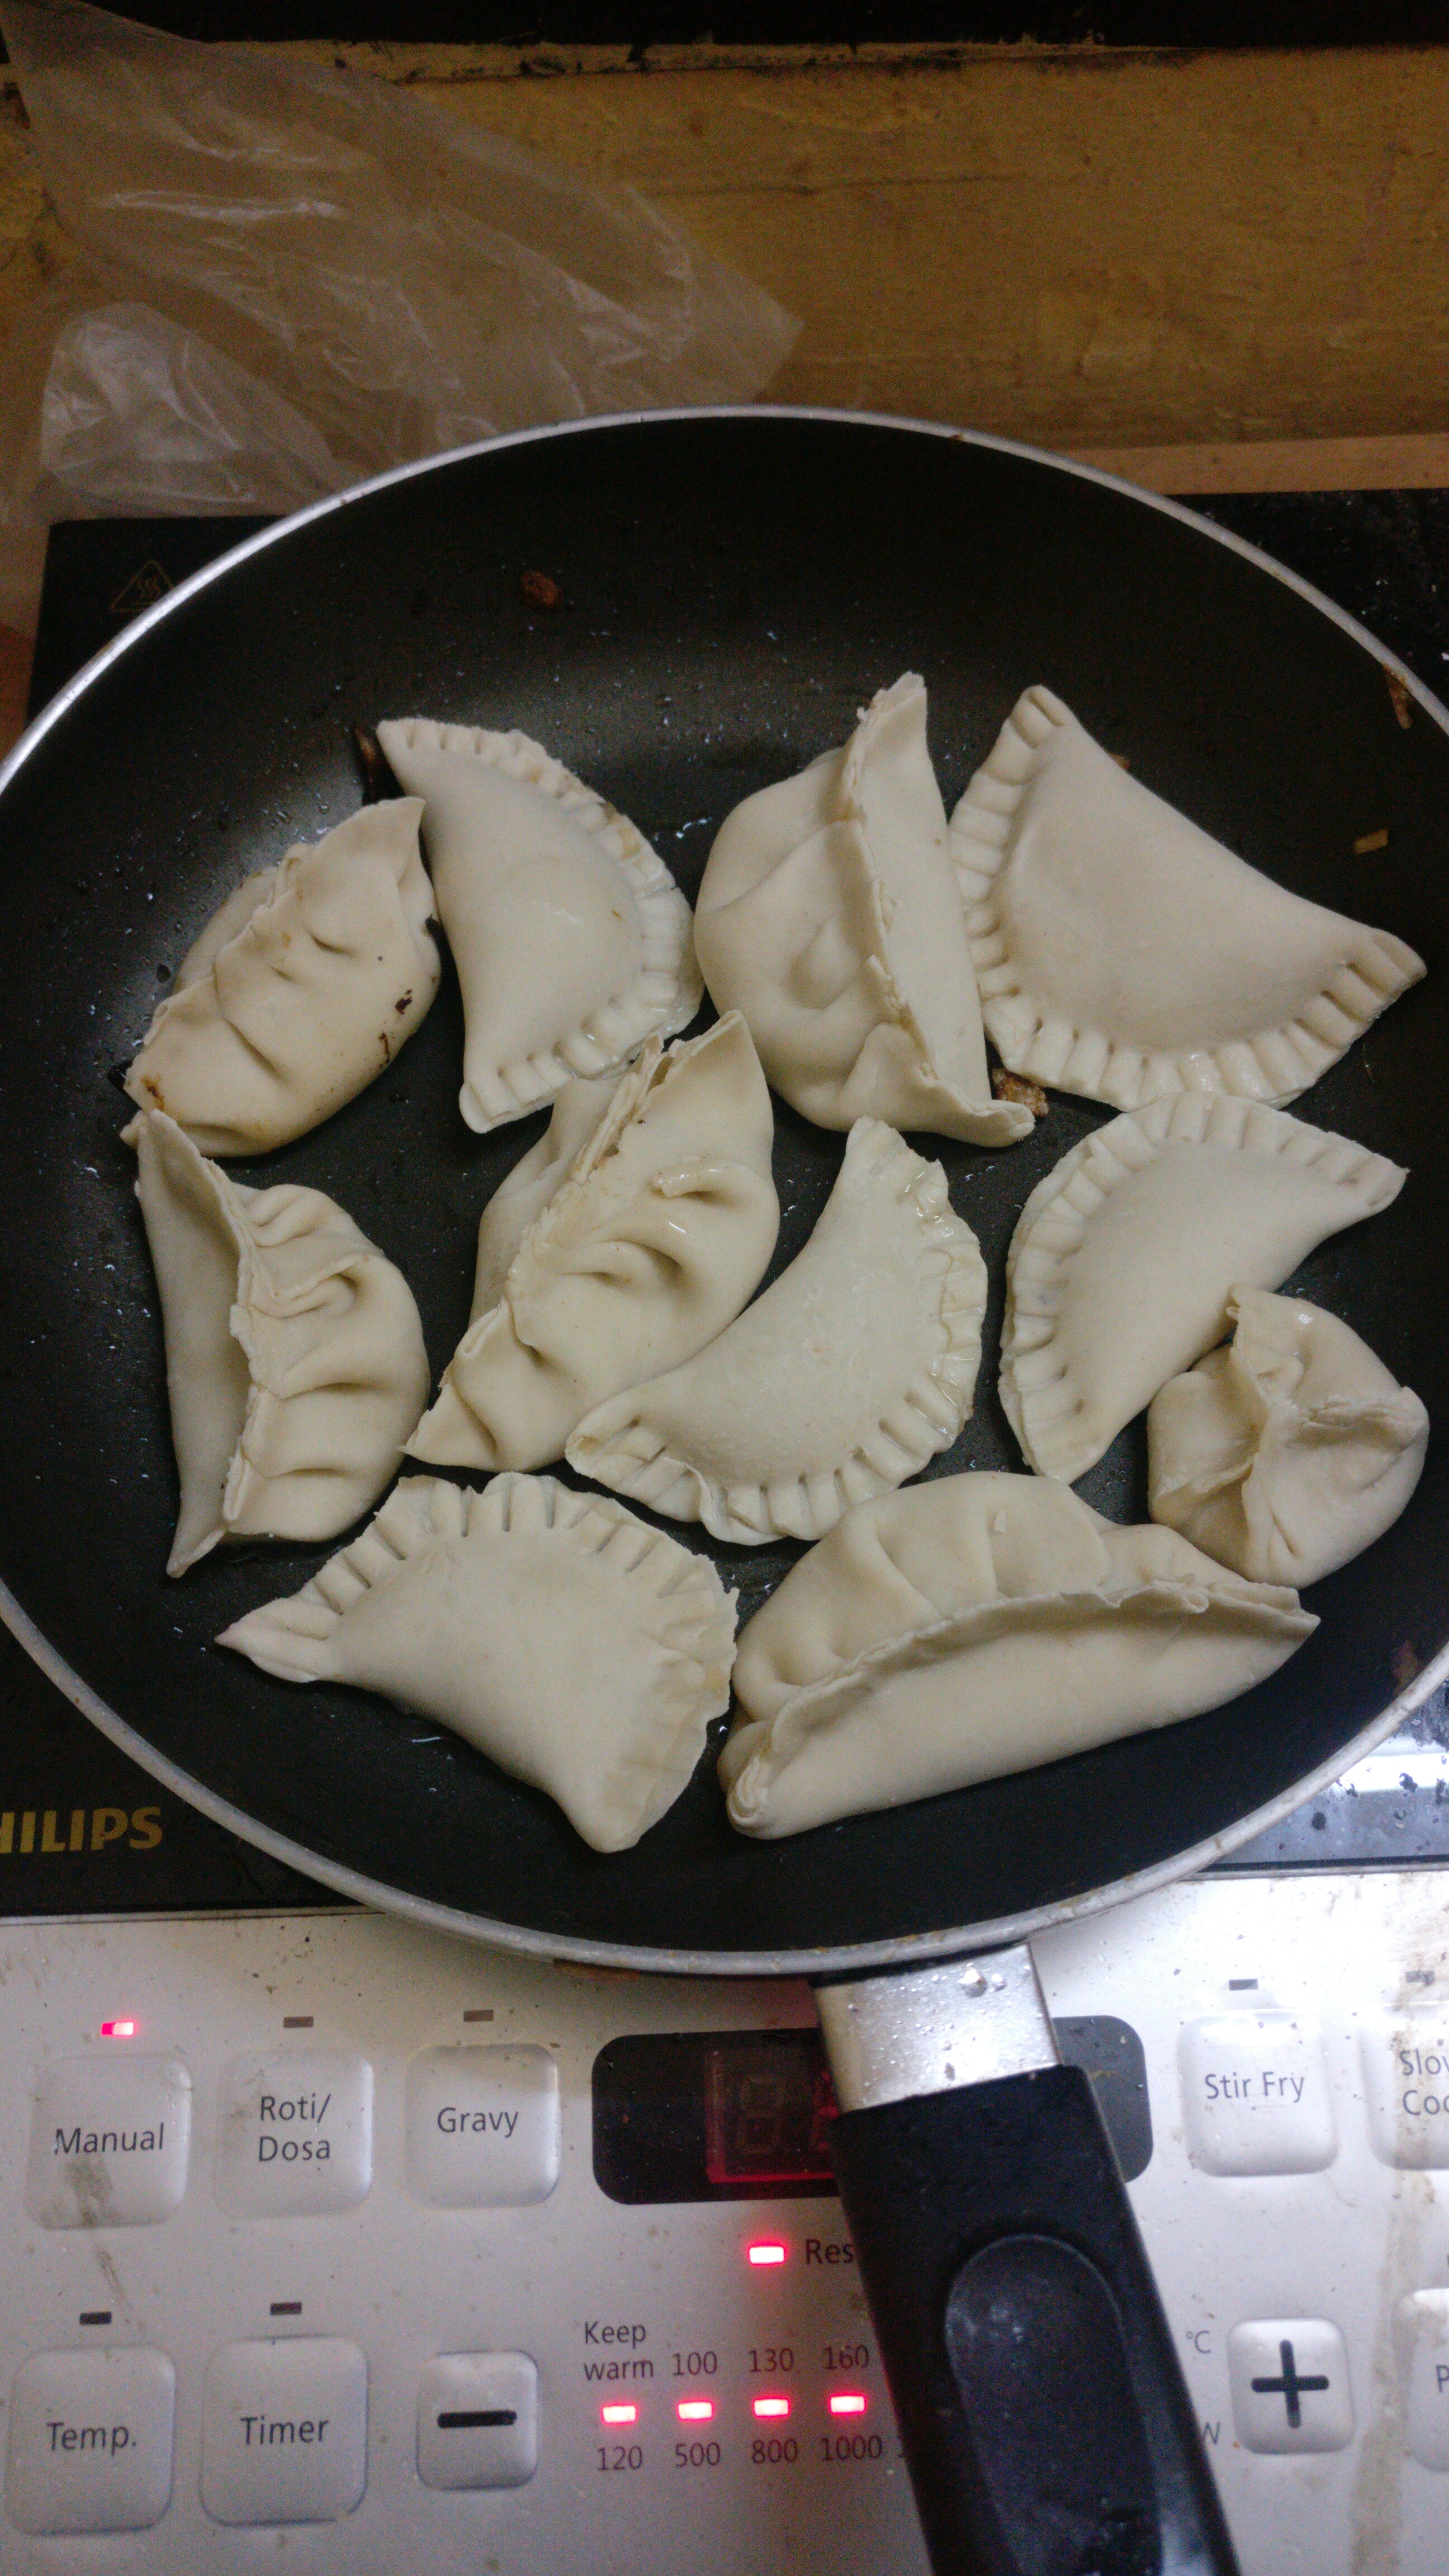
Some of these momos required 4-5 bites to be eaten!
PART III: MAKING THE MOMO
Each momo only requires a pea-sized amount of filling before you seal it in the wrapper. It doesn’t seem like enough, but it expands in volume when cooking. Besides, overfilling may cause the momo to burst later/tear the wrappers.
PART IV: COOKING
There are so many ways. I only had a pan, so I tried the potsticker method first – frying one side, then pouring a glass of water in the pan and letting it steam covered for 12 minutes. The filling cooked, but the wrapper remained hard and chewy, I don’t know why.
I boiled the next batch for 10 minutes. They looked white and ugly, but were soft and remained that way the next day despite being in the fridge. Hungry hostelites gobbled ’em up post dinner (college food isn’t the best).
PART V: DISTRIBUTION
Because honestly, these make way too many. At one point, you may even ask yourself why you didn’t just walk to the momo shop 400m away or Swiggy it for under 100 bucks. I’ve always thought that the cool part about distributing homemade food is that it takes a real douche to criticize it, even if they’re chewing raw dough. And hey, they may even like it! Either ways, you’re feeding people. It is an act of love (as long as the momos are at least palatable!).
Uhm, so you’ve realized by now, that this is not a good recipe. But it was a fun activity, and a few years later….when I can stomach the thought of momos, I might just give it another try. Till then, keep eating momos and RESPECT your local momo-maker for their backbreaking effort!

Momos in hostel room with limited resources!! Truly a culinary genius!
LikeLike